Set up a Workflow
Overview
OmicsPipelines allows you to set up a workflow by filling out a simple form and submitting that form, rather than dealing with a messy input JSON file.
Select the workflow you want to set up
From the homepage of the dashboard, click the "Configure a new workflow" button.
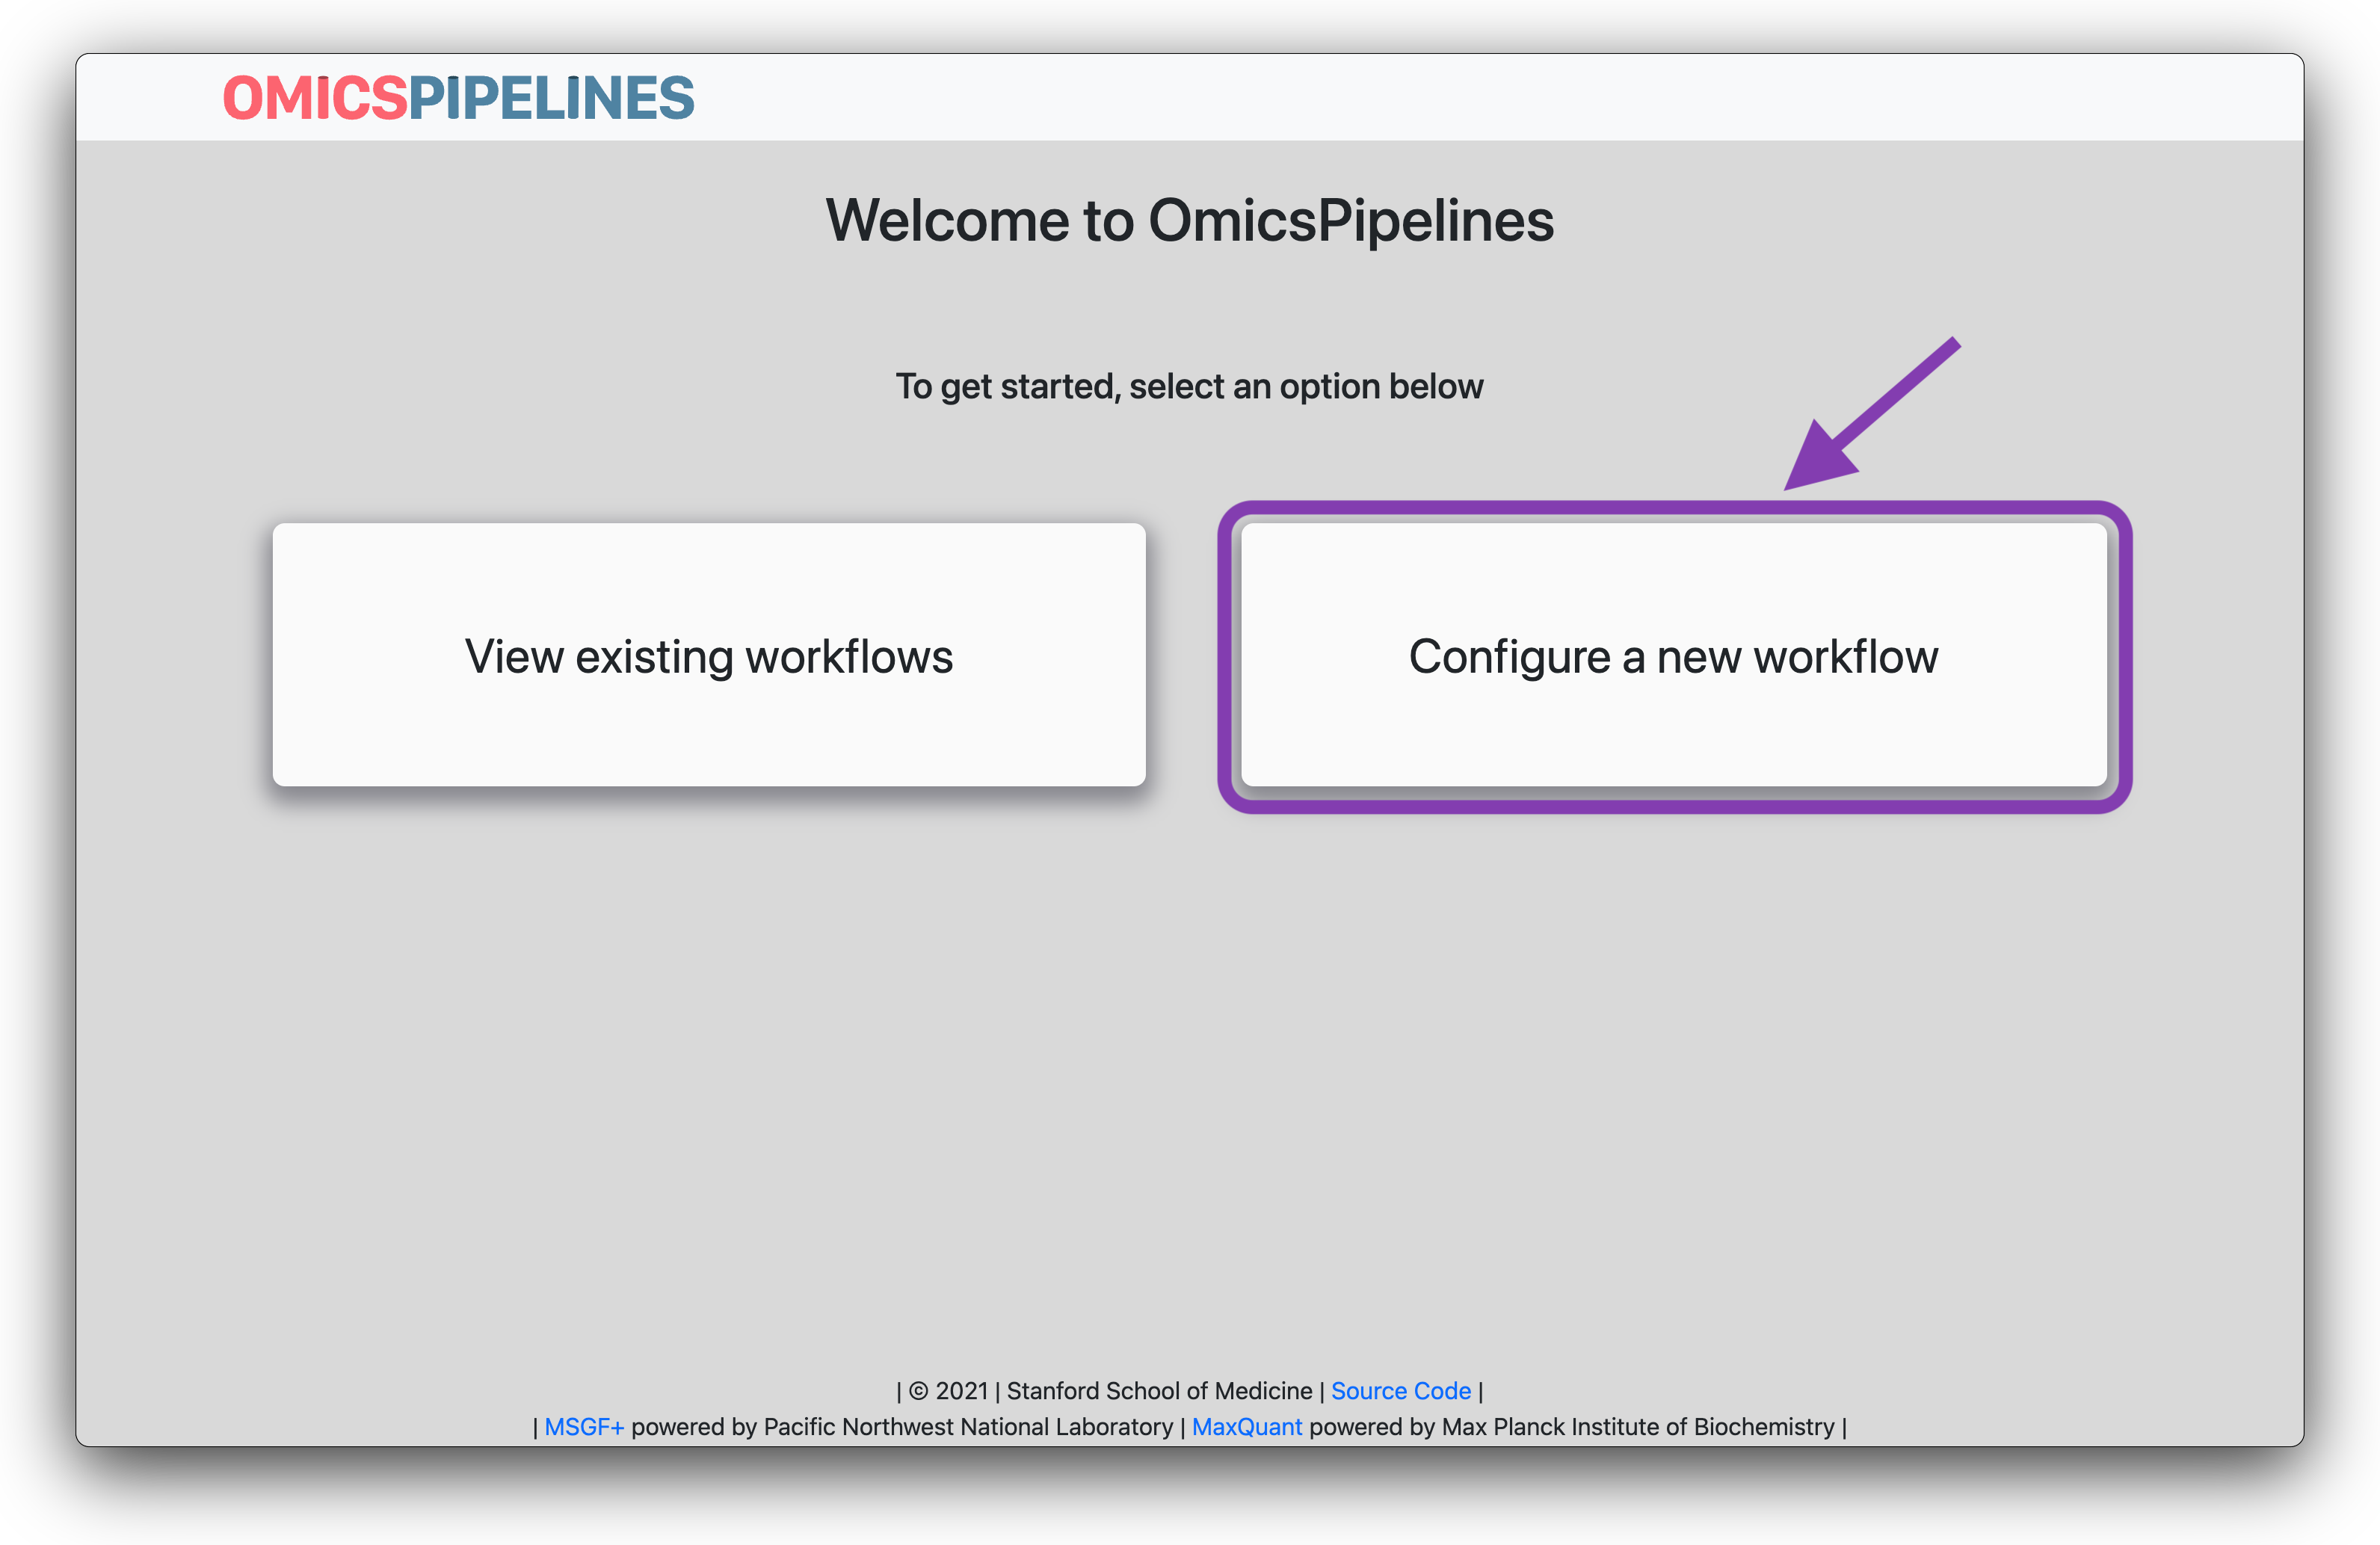
Select the "Configure a new workflow" button
Then, select the workflow that you want to set up. You can do this by clicking on the "-omics" type of the workflow that you want to set up, and then clicking on the particular workflow that you want to set up. In this example, we will be setting up an RNA-seq workflow.
For WGS workflows, you will also be prompted to select the instrument/read type that your data was collected using.
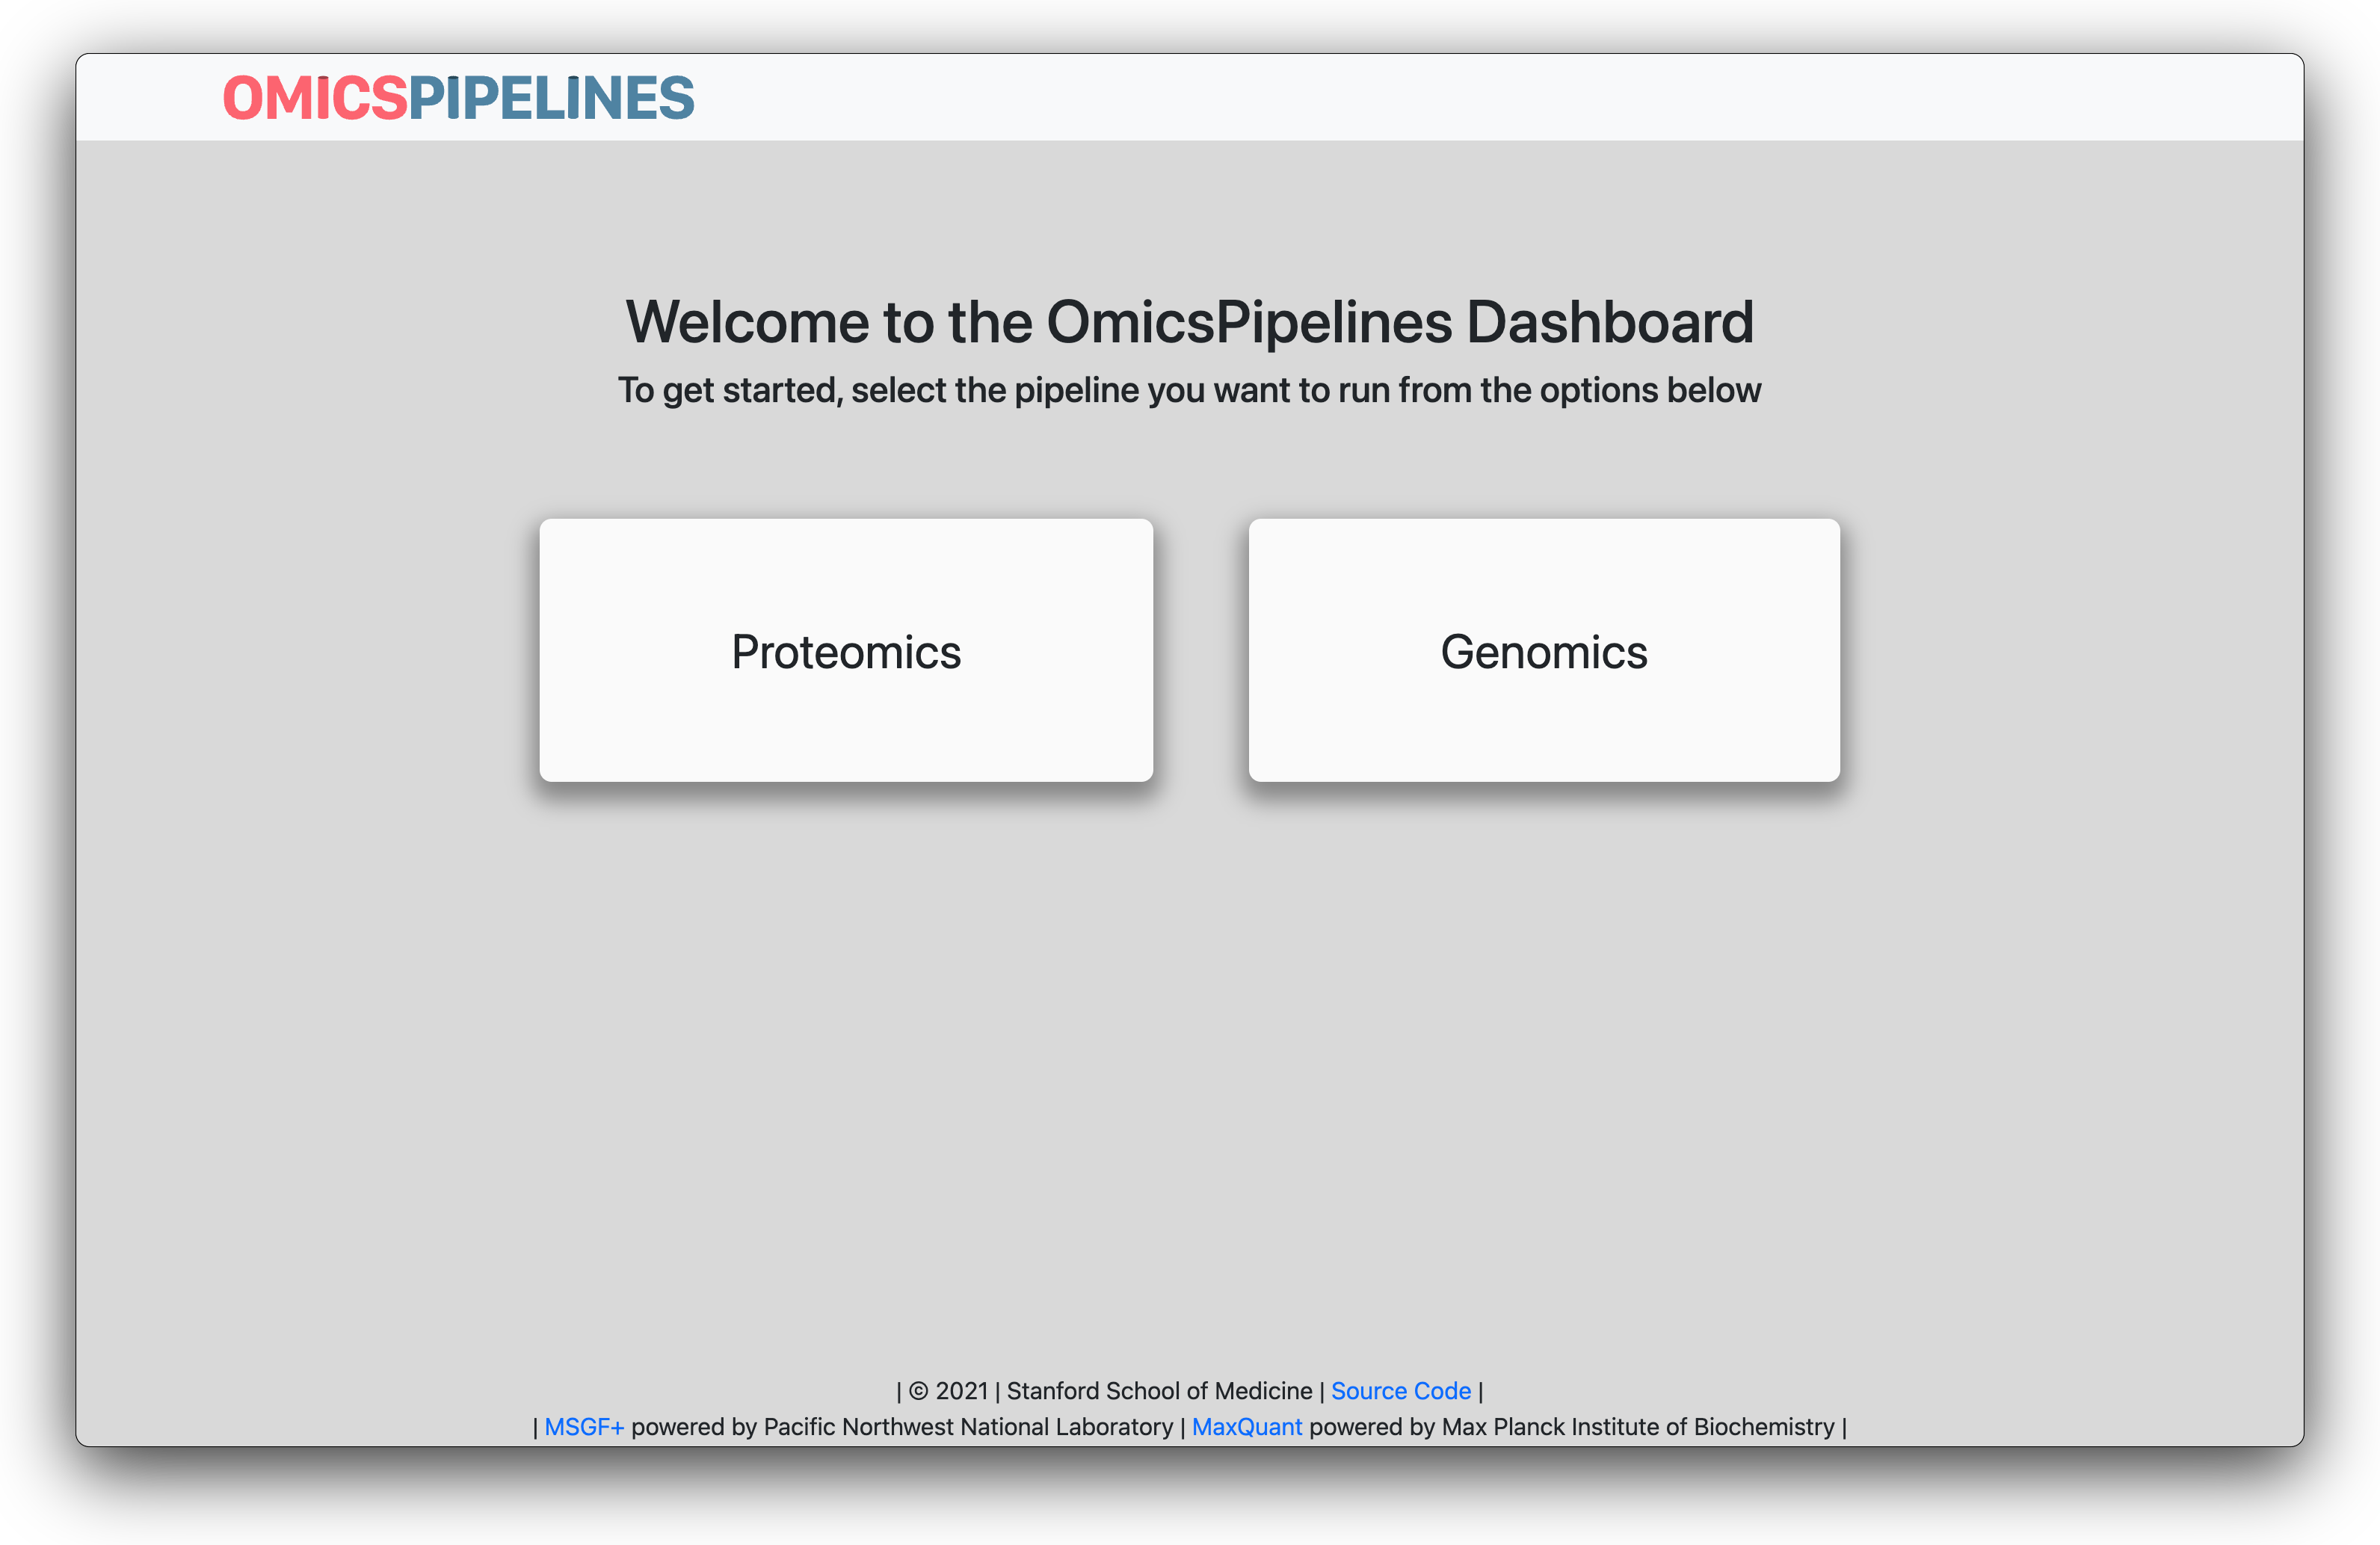
Select the omics type of the workflow that you want to set up
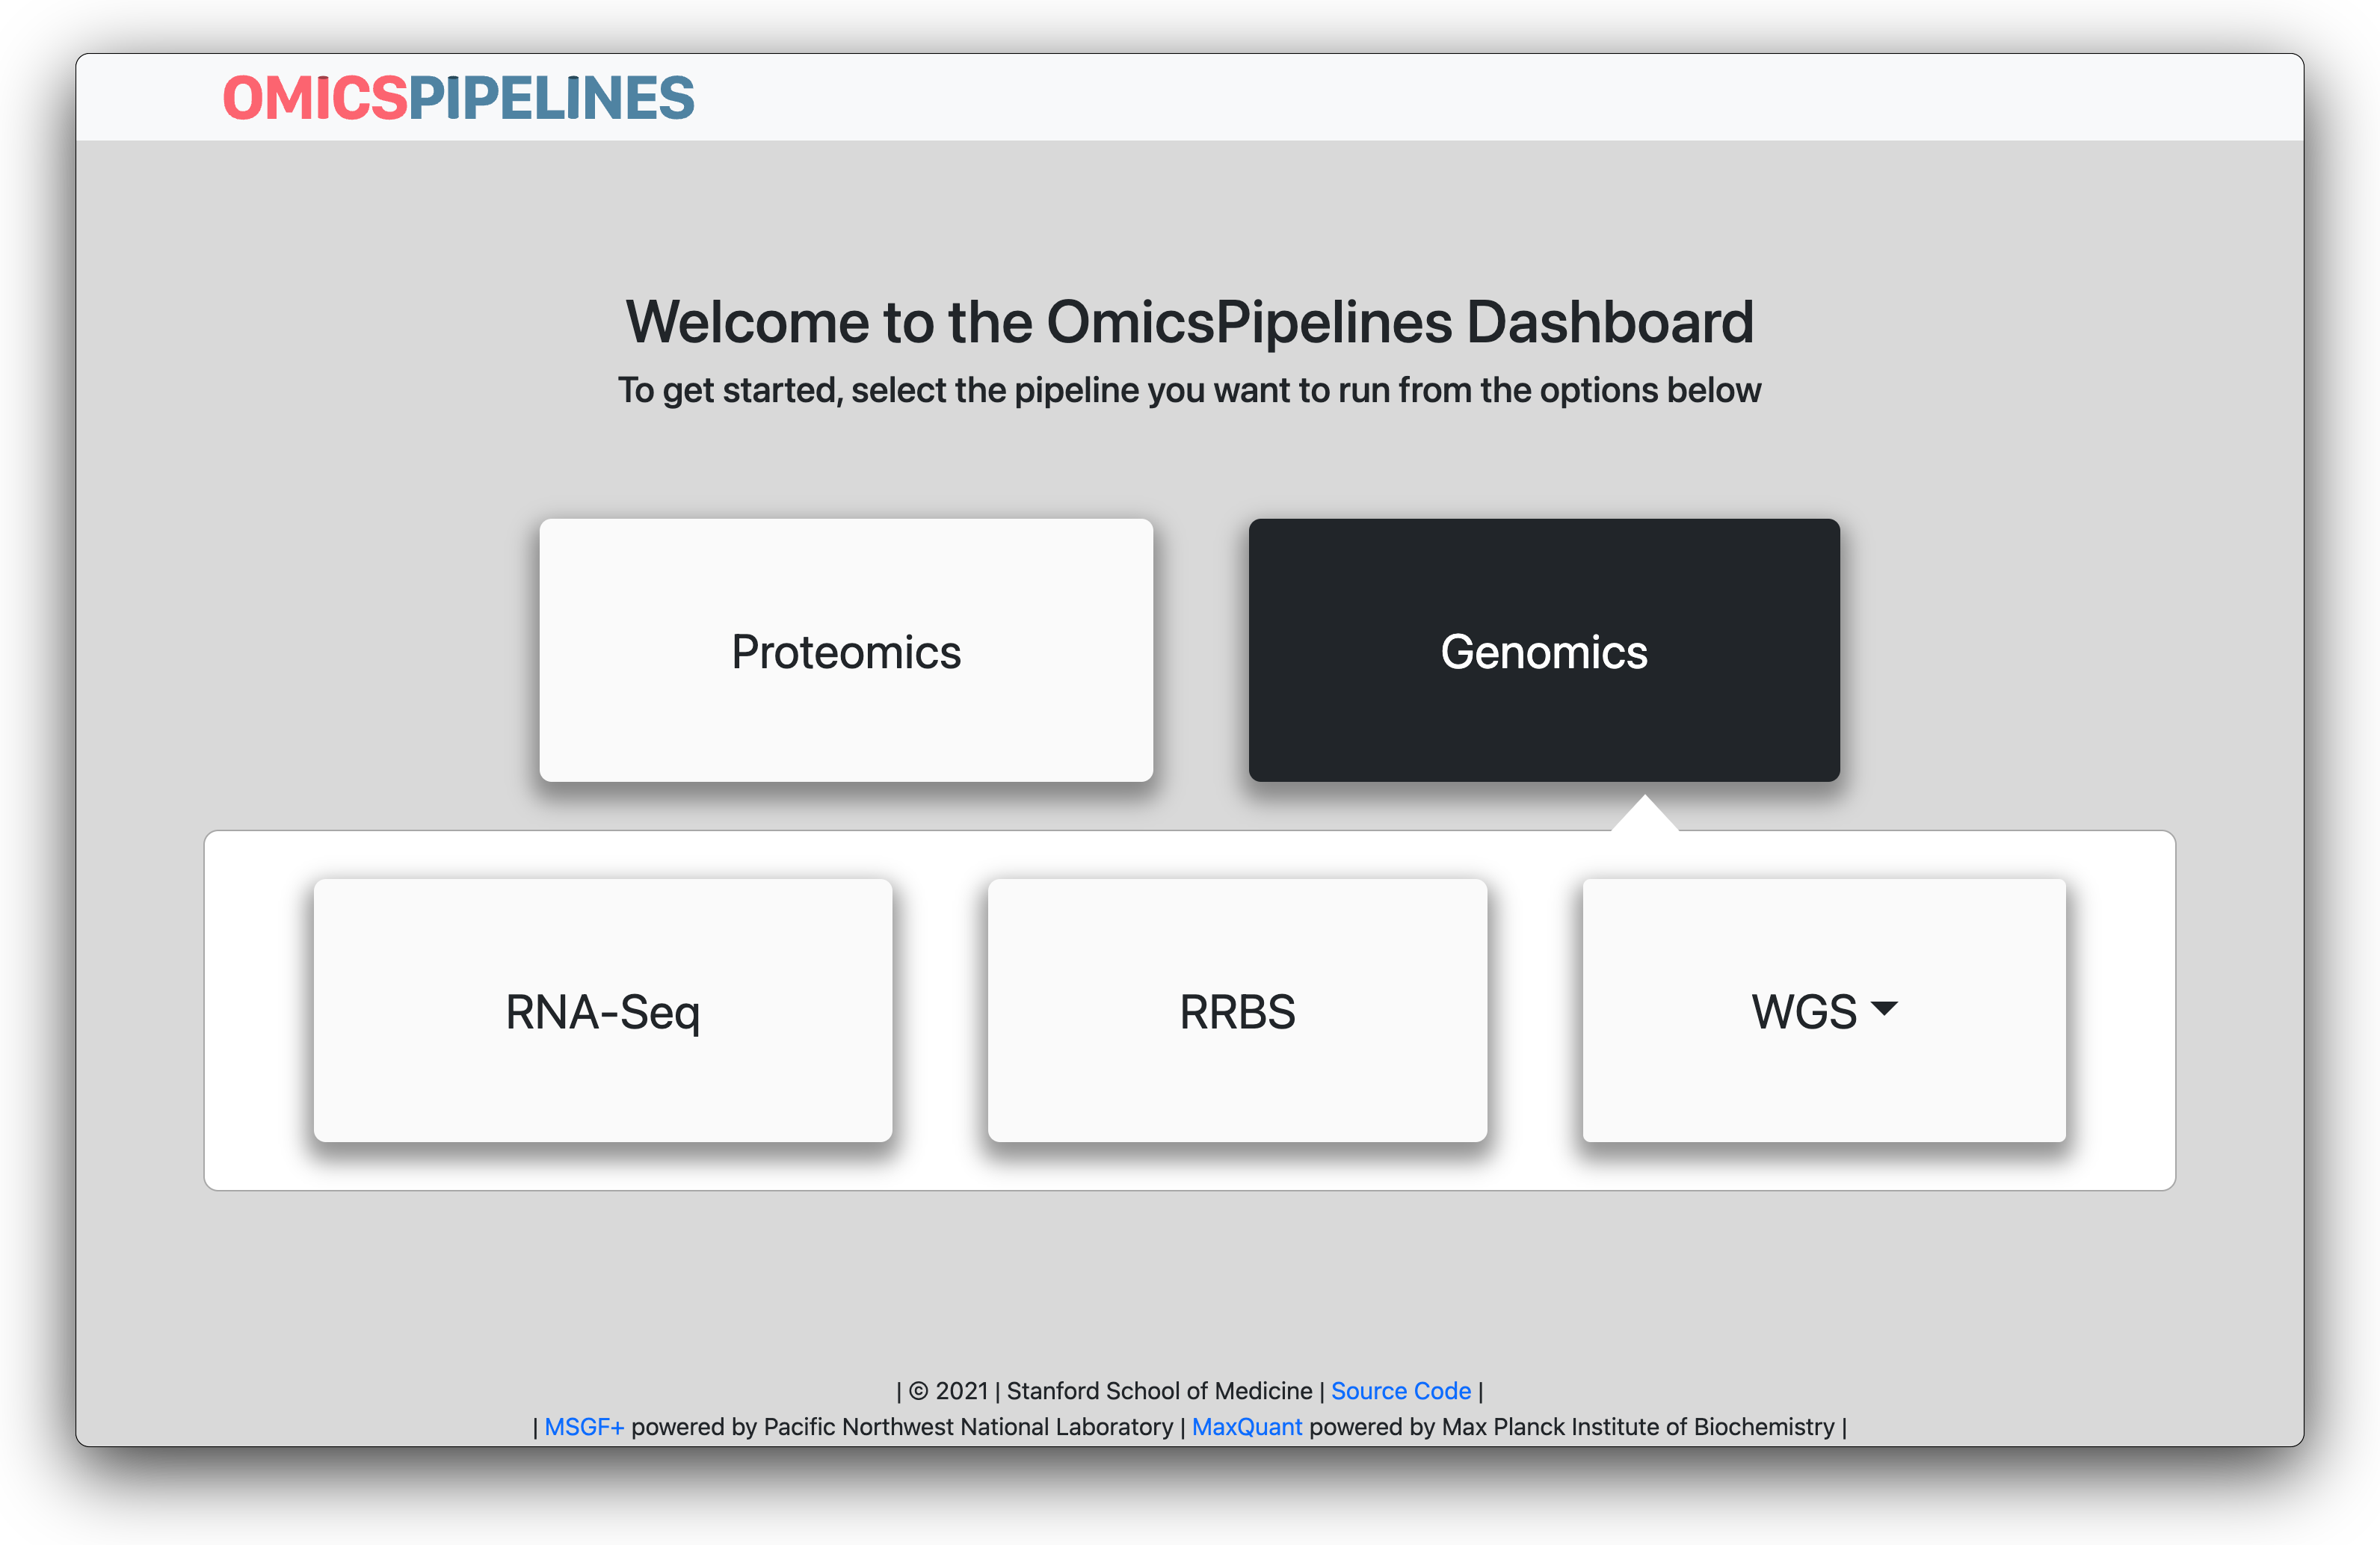
Select the workflow that you want to set up
Fill Basic Options
Once you select the workflow that you will be using, the configuration dashboard will appear.
Workflow Graph
On the left, you can see an interactive visualization of the workflow. Each task is shown in the graph, with a
description of the task. This description is parsed automatically from the meta section of the particular workflow.
The graph shows how data flows between the different tasks. During runtime, this graph is also shown, with the nodes colored, to show the real time status of the completion of the workflow.
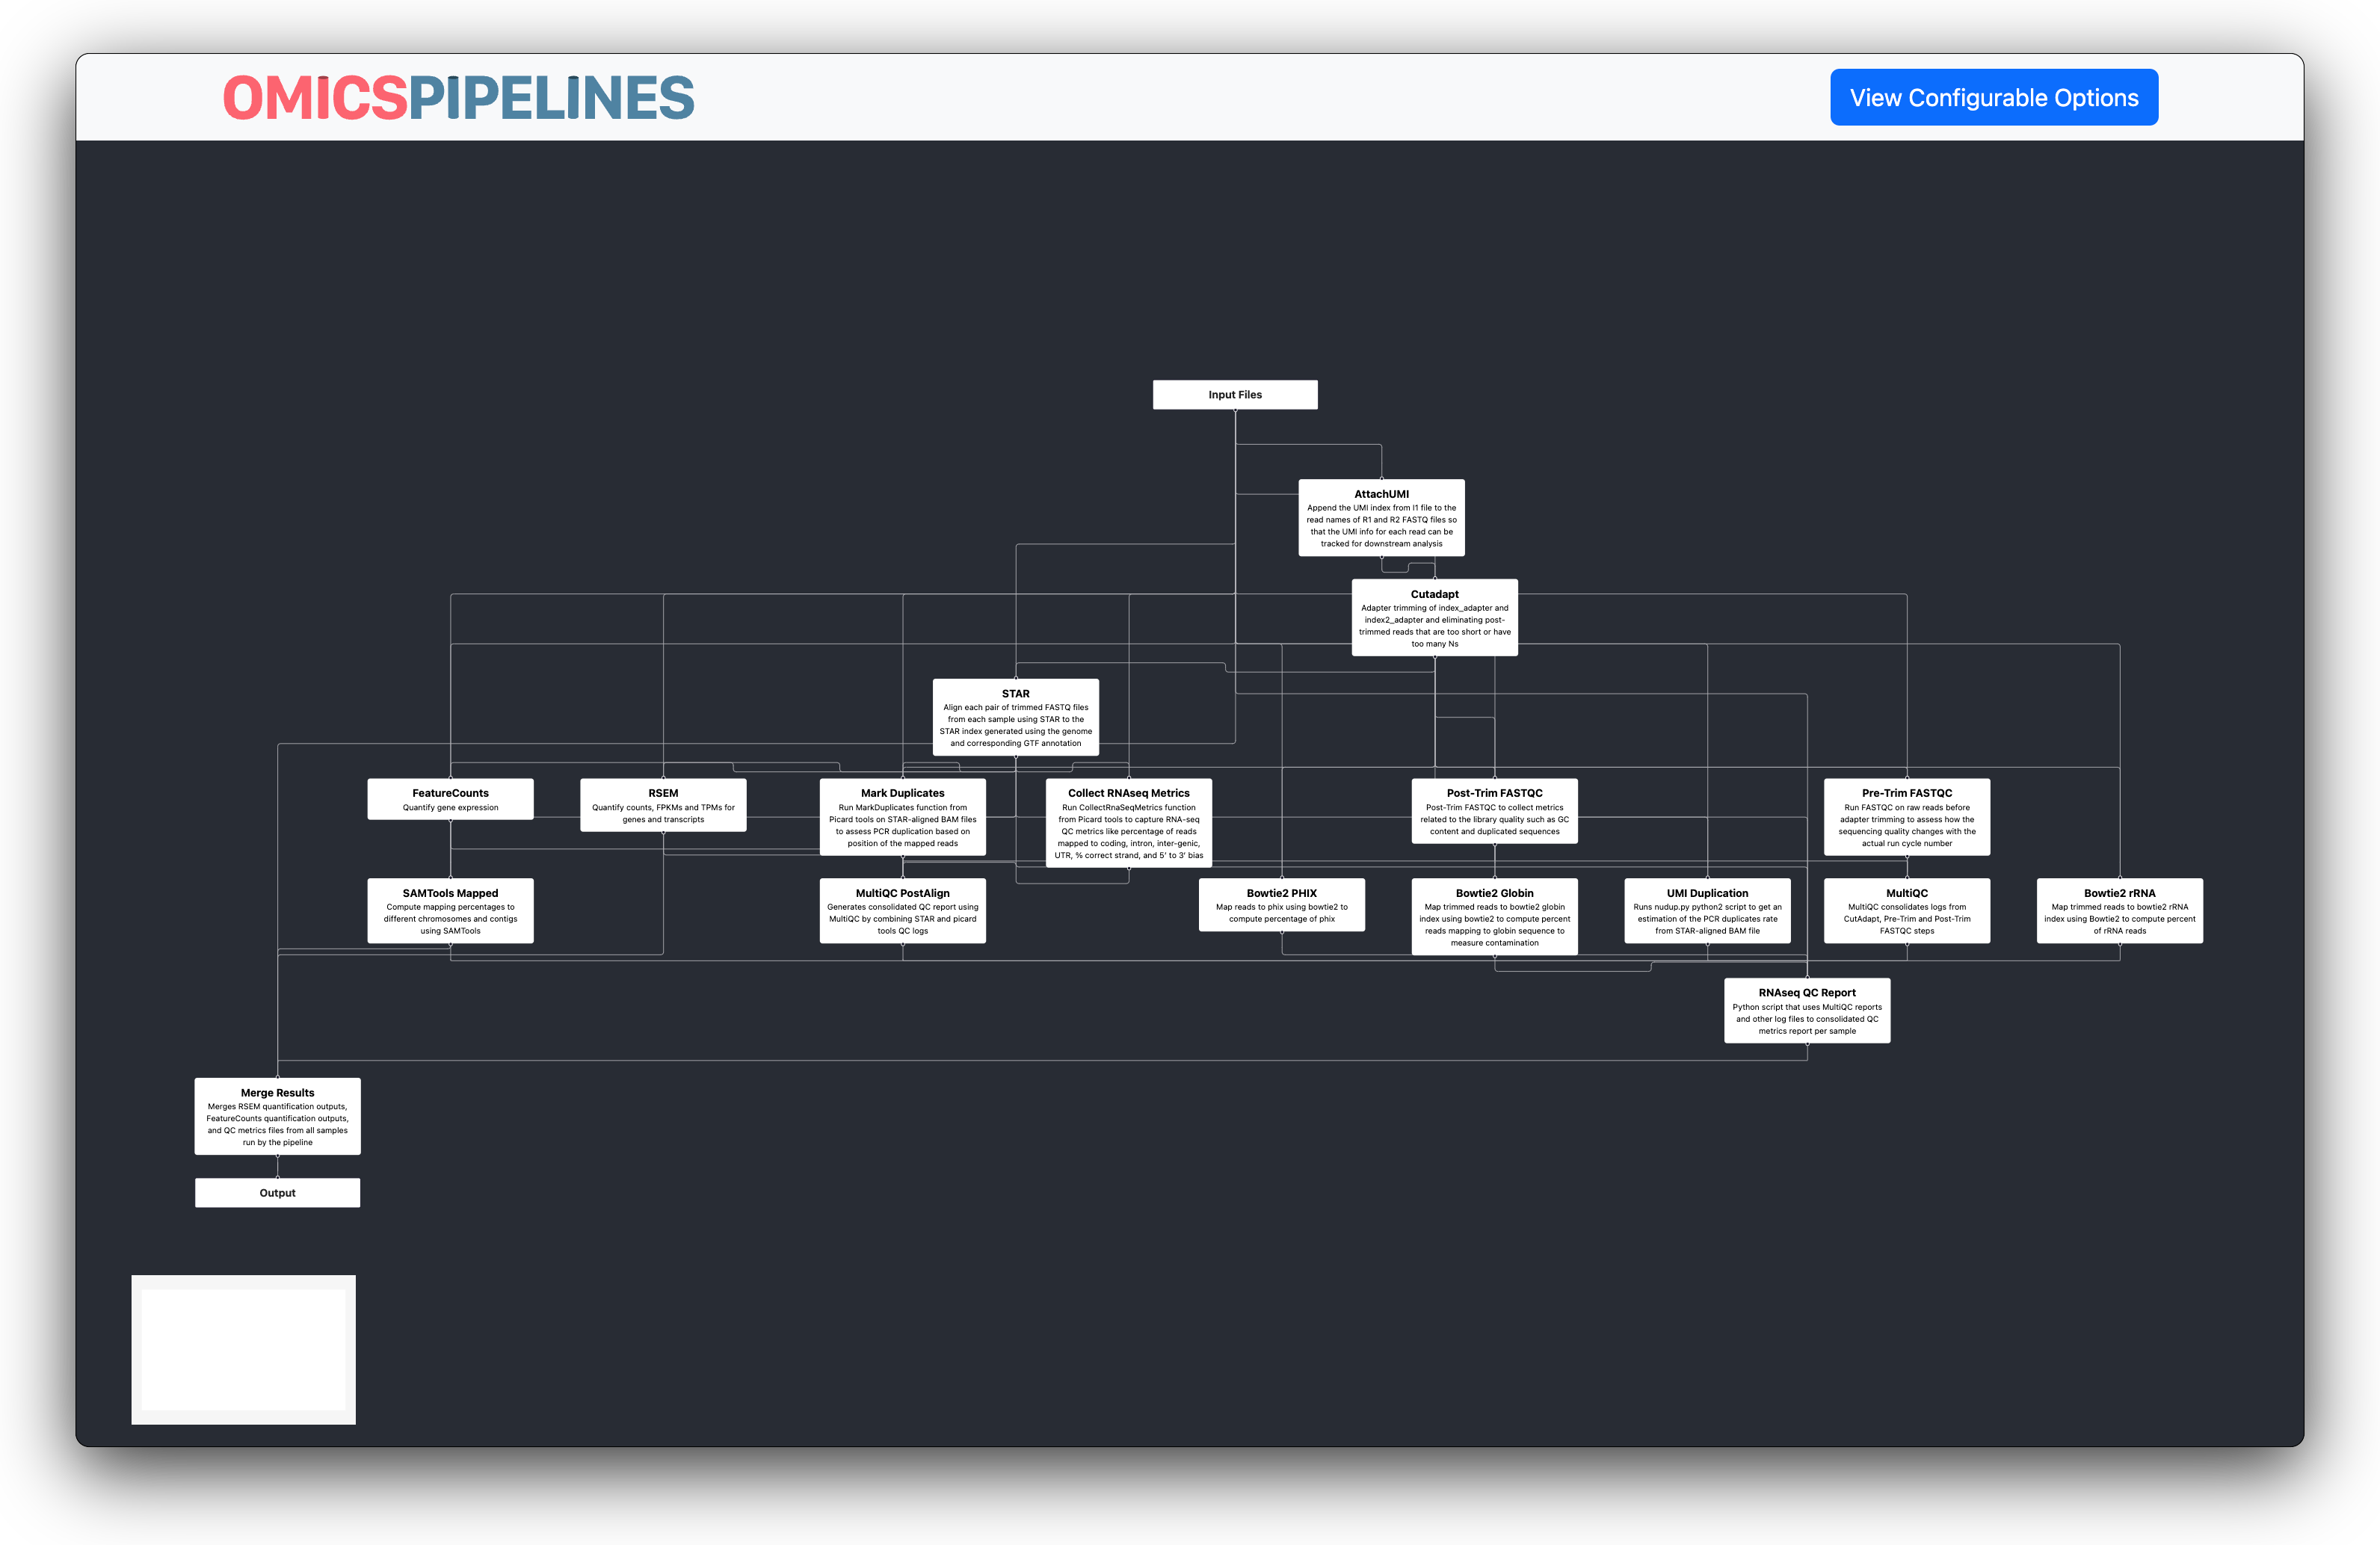
The tasks that comprise a workflow, and the linkages between them
Workflow Configuration Form
If the options form is not already shown, you can click on the View Configurable Options button to show the form.
Here, a simple form guides you through setting up the workflow.
Some values may be autofilled already with pre-provided references. For example, the RNA-seq pipeline provides
references for humans (hg38) and rats. These references are exposed in the gs://omicspipelines or
s3://omicspipelines buckets under the rnaseq/references/ folder. Similar reference files exist for most other
MoTrPAC/OmicsPipelines-provided pipelines.
You may override these values with your own, if you wish.
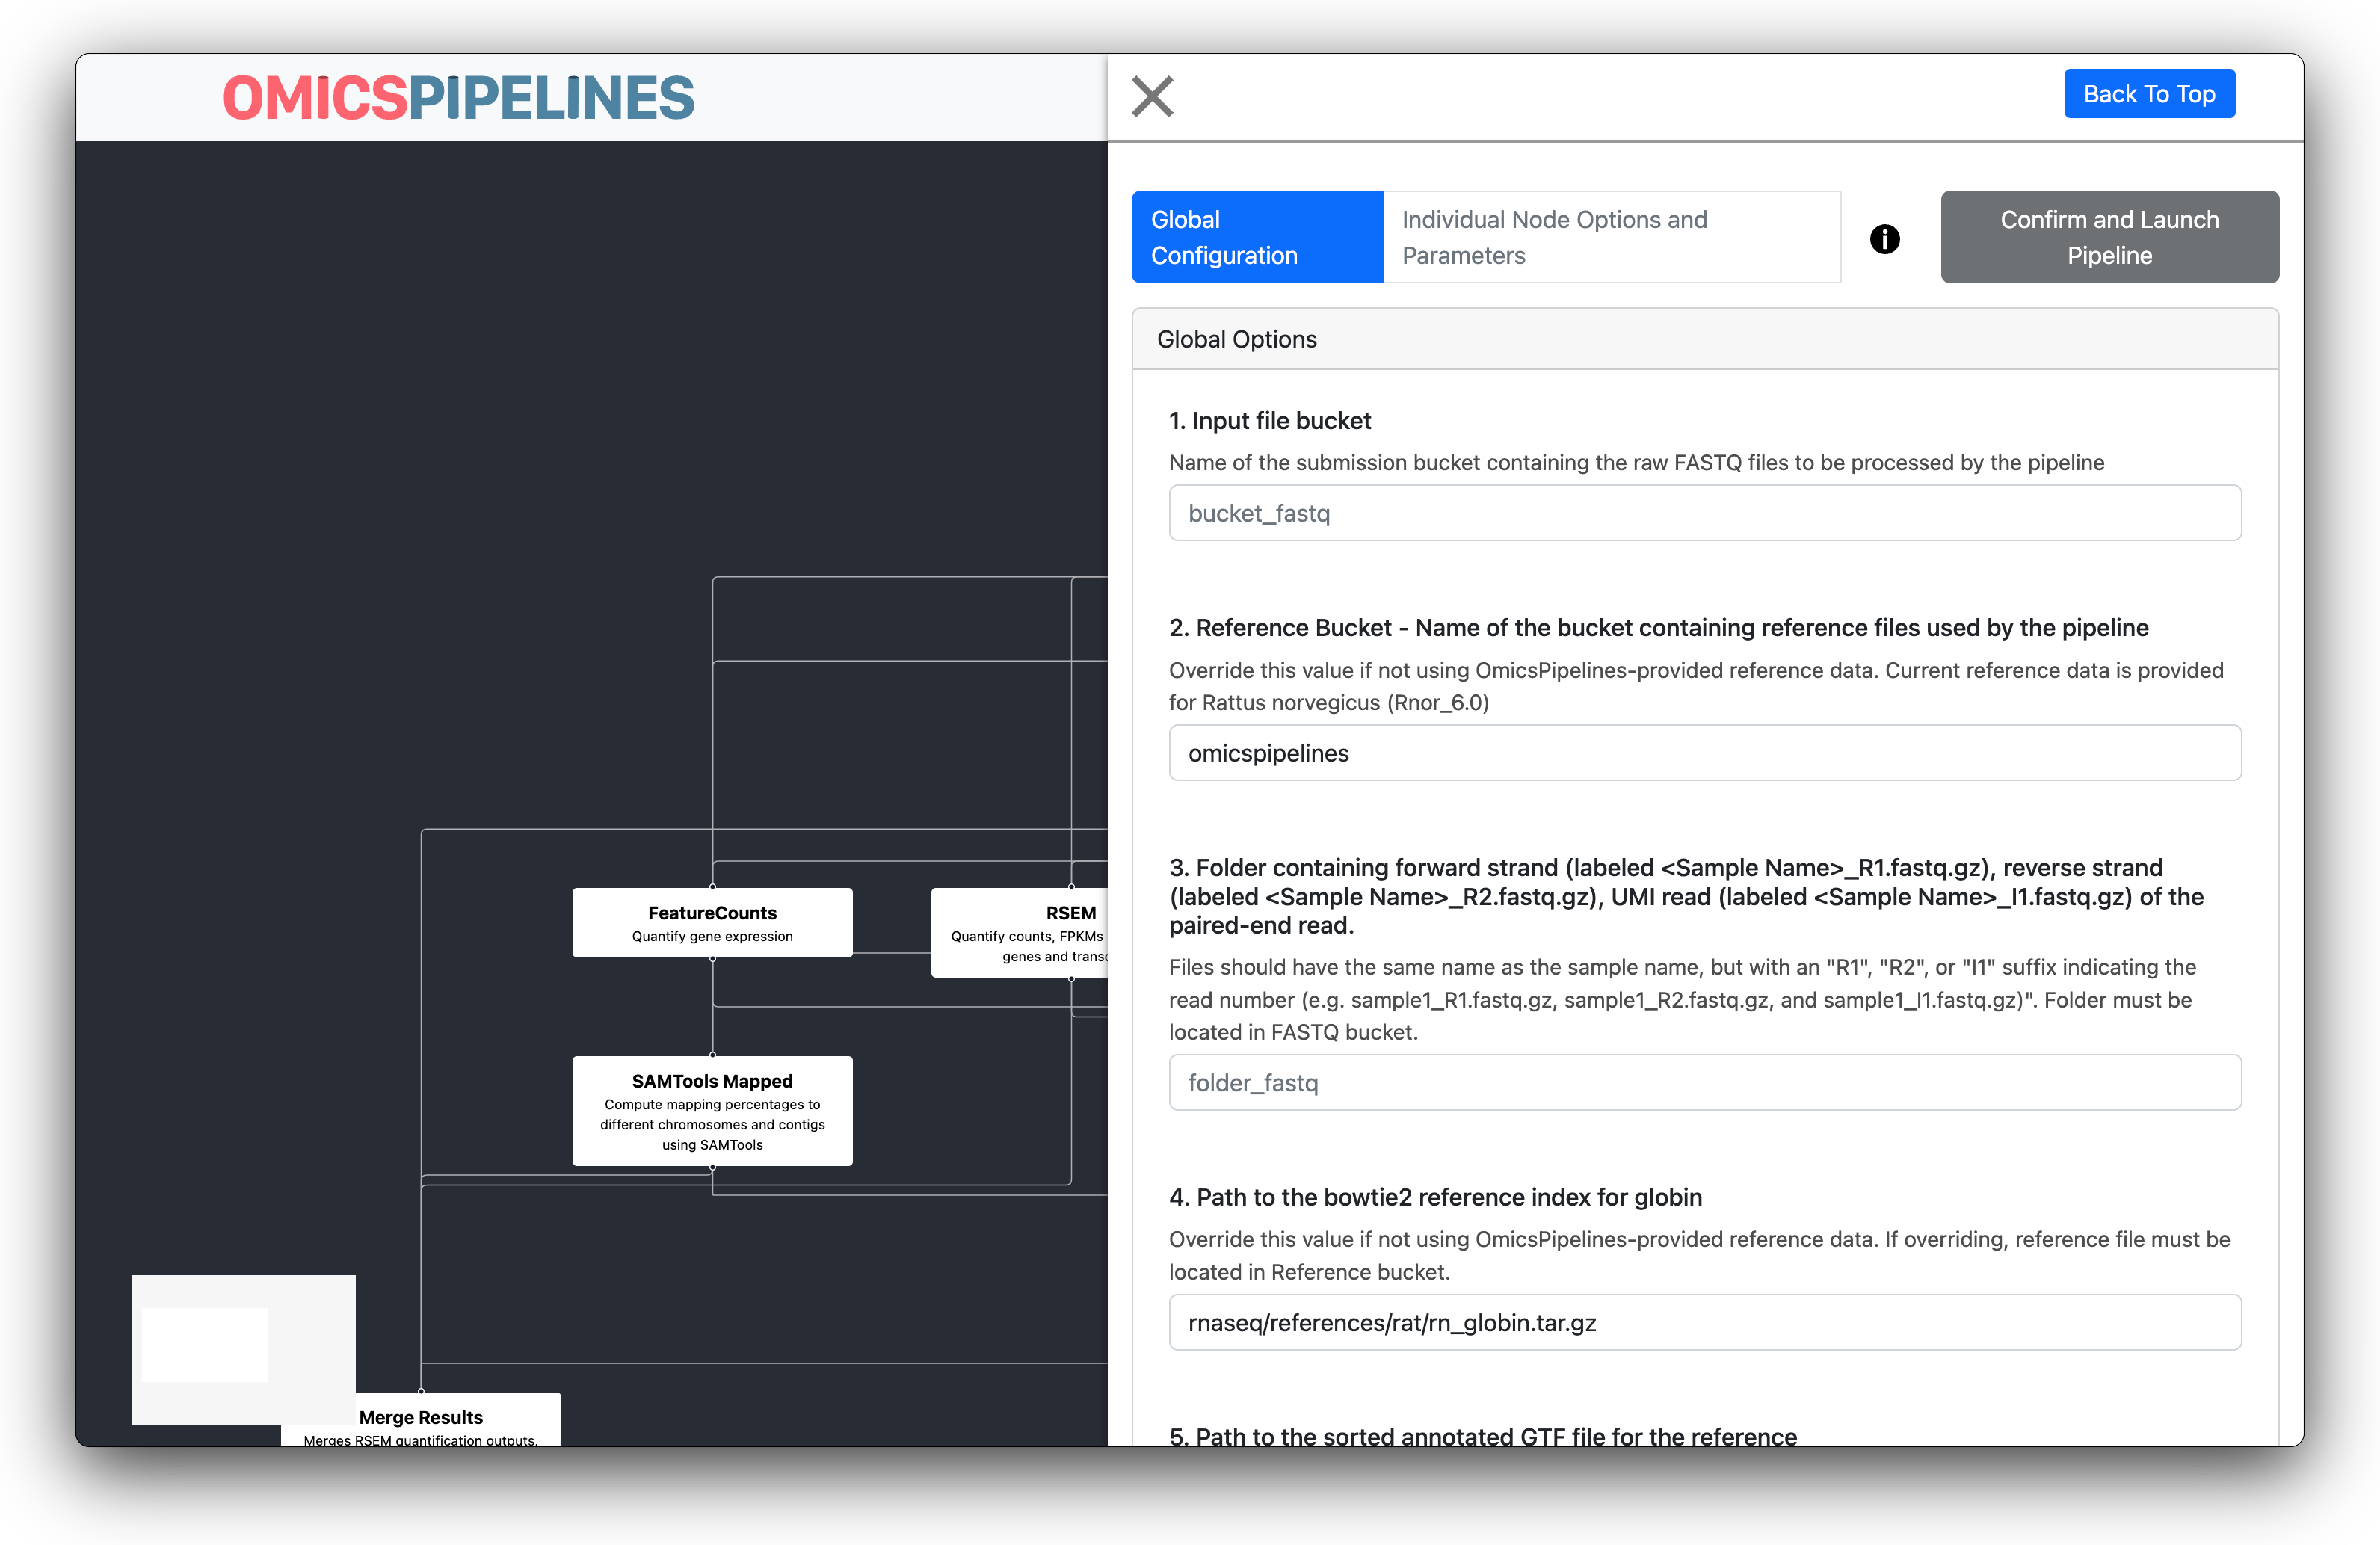
Fill out the form based on the guidance provided in the form.
Form fields that are declared as buckets, folders, or files in the configuration get a convenient autofill to help narrow down which file, bucket, or folder you are selecting.
After filling out the form, click on the Submit button to submit the form.
Submit the filled form based to proceed to the next page.
The form will be validated on the server. Correct any errors that may occur before you are allowed to proceed. If everything looks alright, you will be taken to the next page.
Cromwell Inputs
The next page shows the inputs of the workflow. Verify that each pre-filled input looks correct. Here, you can also change individual parameters of the workflow. For example, you can change the memory allocation a given task has, if you see an out-of-memory error with a particular workflow.
For certain proteomics workflows, you can also change the parameter files that tasks use.
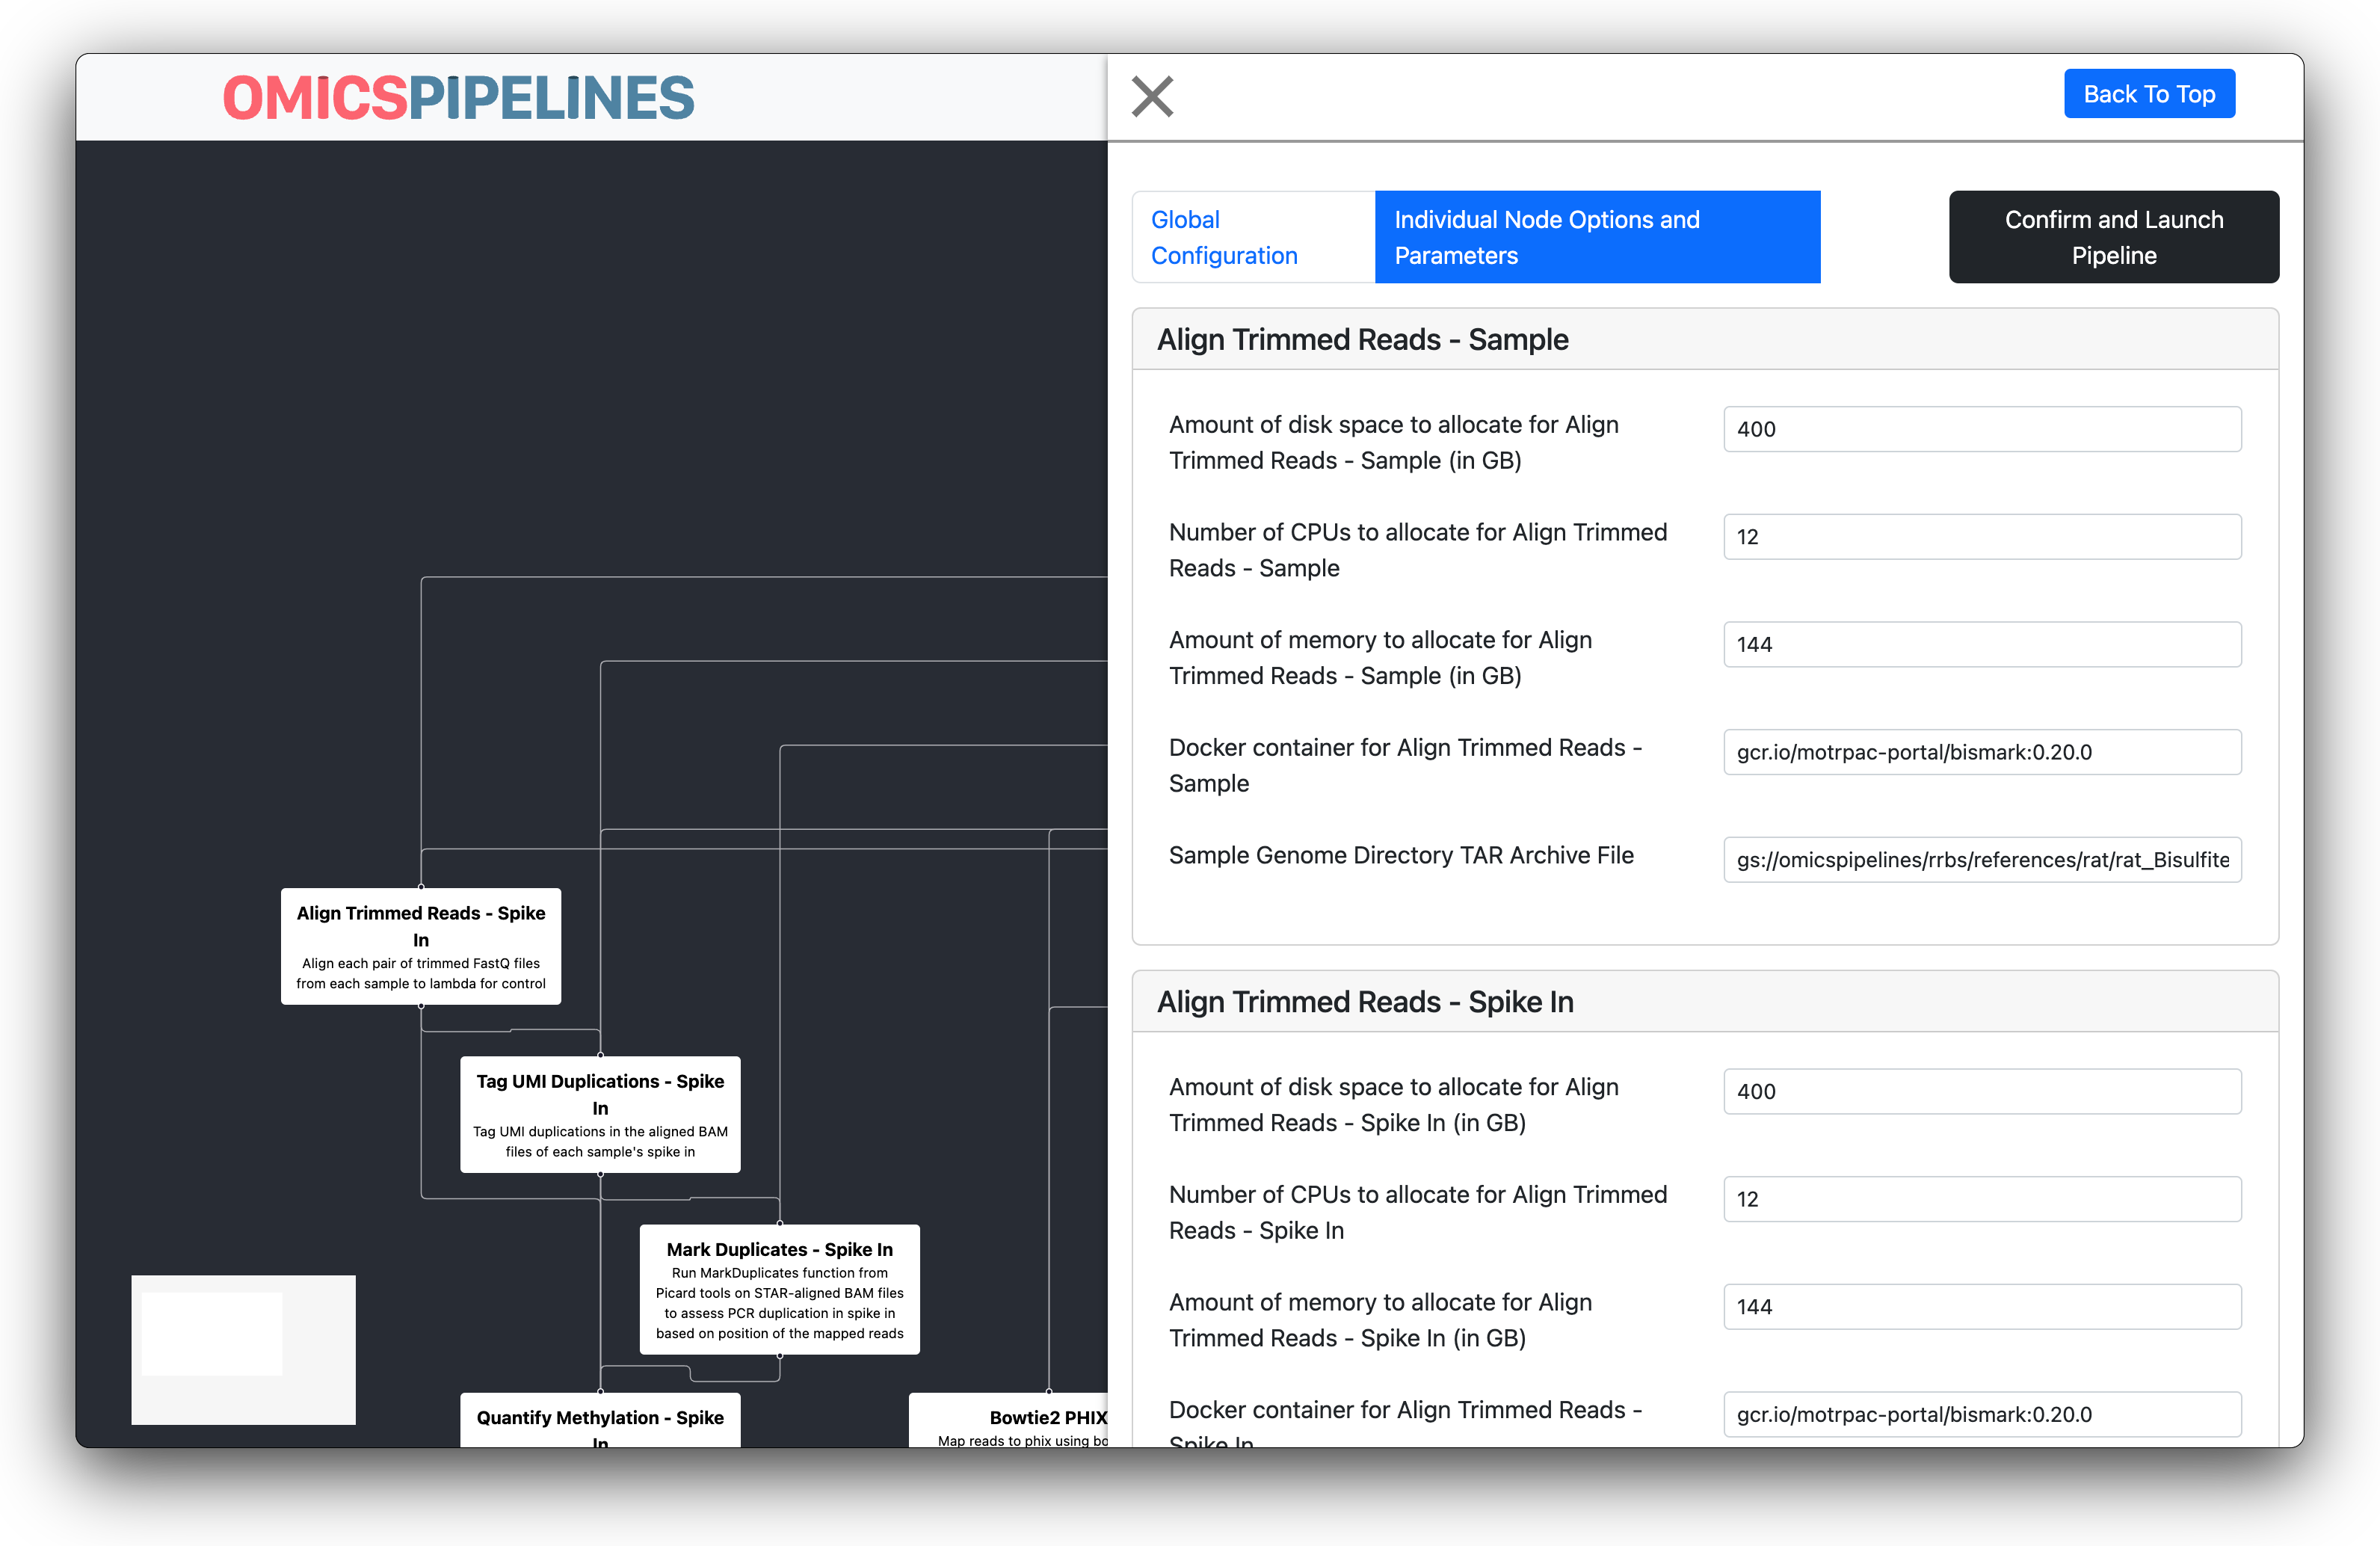
Verify that the inputs look correct, and perform any corrections or changes to the workflow here.
After confirming that your workflow inputs look correct, click the Confirm and Launch Pipeline button to submit the workflow.
After submitting the workflow, do not navigate away from the page until the warning banner has gone away. You may accidentally cancel submission of the workflow.